
How to Install an Above Ground Pool Pump Efficiently
Choosing Your Ideal Above Ground Pool Pump
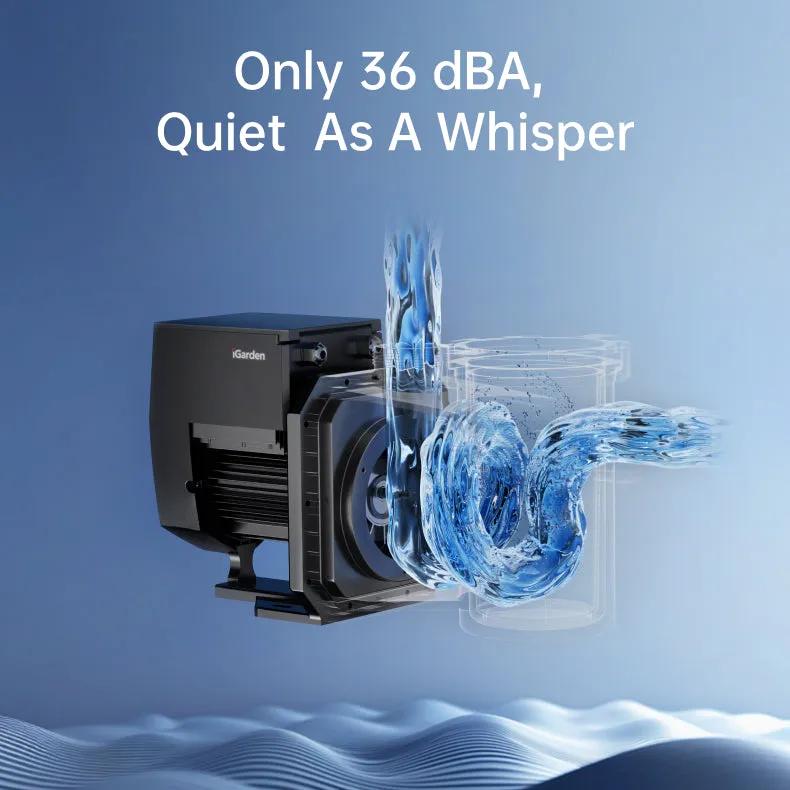
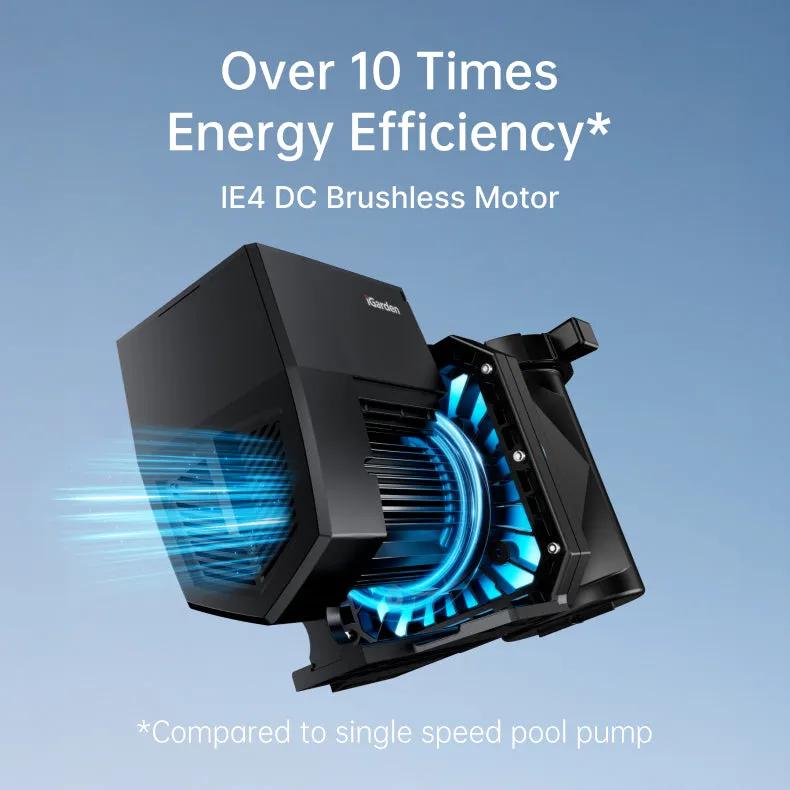
Selecting an energy-efficient pool pump is a crucial investment that can reduce your electricity costs by up to 70% compared to standard single-speed models. Modern variable-speed pumps like those from iGarden feature intuitive touch-screen interfaces that simplify operation and maintenance scheduling. When sizing your pump, calculate your pool’s volume in gallons and match it to a pump that can turn over the entire volume in 8-10 hours. For most above-ground pools between 10,000-30,000 gallons, a 1-2 HP pump provides optimal flow. Ensure compatibility with your existing filter system by checking port sizes and plumbing dimensions before purchase. For durability, look for pumps with reinforced thermoplastic housing that resists corrosion and UV damage. Key features should include built-in freeze protection, automatic safety shutoff, and self-priming capability. Consider models with integrated automation that can adjust speed based on demand, maximizing efficiency while maintaining proper filtration. The best pumps also offer quiet operation below 45 decibels at low speeds and include strainer baskets that are easy to access and clean.
Pre-Installation Preparation Essentials
Safety and Site Requirements
Before installation, ensure your work area meets critical safety standards. The pump location must be at least 5 feet from the pool and have proper drainage to prevent flooding. Level the installation surface using crushed gravel or a concrete pad, maintaining a 1-degree slope for water runoff. Allow minimum clearance of 3 feet around all sides for ventilation and maintenance access. Install the pump in a sheltered area to protect from direct sunlight and extreme weather, but avoid enclosed spaces that could trap heat or chemical fumes.
Tools and Materials Checklist
Gather essential plumbing components including 1.5-inch or 2-inch PVC pipe, unions, check valves, and thread sealant rated for pool chemicals. You’ll need a complete electrical kit with weatherproof conduit, GFCI breaker, and 12-gauge copper wire for most residential installations. For mounting, prepare concrete anchors, stainless steel hardware, and vibration-dampening pads. Keep basic tools handy: pipe wrench, channel locks, PVC cutters, level, tape measure, and electrical testing equipment. Having spare O-rings and pipe primers ensures you won’t need to pause mid-installation for supply runs.
Step-by-Step Pool Pump Installation Process
Positioning and Mounting
Position your pump between 3-5 feet from the pool wall, ensuring the pad is perfectly level. Install vibration-dampening rubber feet under each mounting point to minimize noise transmission. Secure the pump to your concrete pad using stainless steel anchor bolts, maintaining proper alignment with existing plumbing.
Plumbing Connections
Connect suction and return lines using properly sized PVC pipe, typically 1.5 or 2 inches in diameter. Install unions on both sides of the pump for easy removal during maintenance. Apply PVC primer and cement following manufacturer specifications, holding joints firmly for 30 seconds. Add ball valves before and after the pump to simplify winterization and repairs.
Electrical Setup
Install a dedicated 20-amp GFCI circuit breaker for the pump. Run properly sized conduit from your electrical panel to the pump location, using watertight connections throughout. Connect the pump’s ground wire to the panel’s ground bar, ensuring proper bonding. For smart controls, install the automation module according to manufacturer guidelines, typically near the pump for optimal signal strength.
Priming and Initial Testing
Remove the strainer lid and fill the pump housing completely with water. Replace the lid, ensuring the O-ring is properly seated. Open all valves and start the pump, checking for proper water flow and any air bubbles in the strainer. Verify the pump achieves proper pressure within 2-3 minutes. Test all automation features, including scheduling and speed controls, before finalizing the installation.
Post-Installation Optimization
After installation, optimize your pool pump’s performance by establishing an energy-efficient operating schedule. Program your pump to run during off-peak electricity hours, typically between 9 PM and 6 AM, to reduce energy costs. Fine-tune the pump speed settings for different functions – use lower speeds for daily filtration and higher speeds only when necessary for cleaning or heating. To minimize noise, verify that all mounting hardware remains tight and consider installing an insulated pump cover if needed. Create a maintenance calendar that includes monthly inspections of the strainer basket, quarterly checks of all electrical connections, and seasonal system evaluations. Monitor your pump’s performance by tracking flow rates, pressure readings, and energy consumption through the digital interface. Compare these metrics against the manufacturer’s specifications to ensure optimal efficiency. If you notice declining performance or unusual sounds, address issues promptly to prevent larger problems. Regular optimization checks can extend your pump’s lifespan while maintaining peak efficiency levels.
Shipping, Support and Warranty Details
Shipping Policy Transparency
Most pool pump manufacturers offer free ground shipping within the continental US, with delivery typically taking 3-5 business days. Upon delivery, thoroughly inspect the packaging for any signs of damage, taking photos if needed for documentation. Check that all components match your order details, including mounting hardware and connection fittings. The return window is usually 30 days from delivery, though some vendors may charge restocking fees for non-defective returns. Keep original packaging materials until installation is complete to ensure warranty coverage.
Customer Support Access
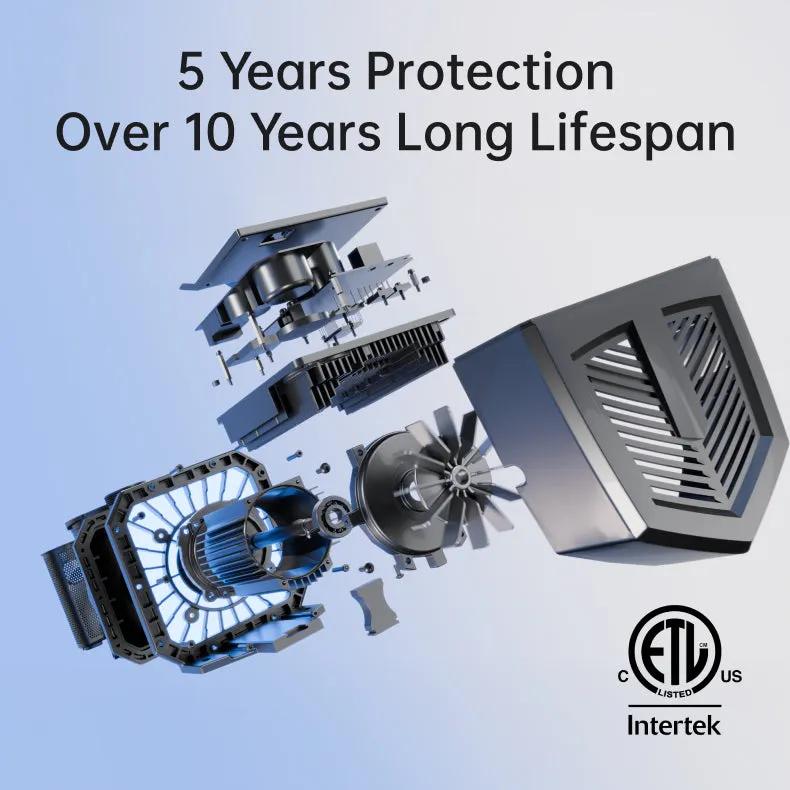
Leading manufacturers provide 24/7 technical support through dedicated hotlines staffed by certified pool equipment specialists. Access comprehensive installation guides, troubleshooting videos, and maintenance tutorials through manufacturer web portals and mobile apps. For warranty claims, document the issue with photos and your pump’s serial number before contacting support. Most warranties cover parts and labor for 1-3 years, with premium models offering extended coverage up to 5 years. Regular maintenance records may be required for warranty validation, so maintain detailed service logs using the manufacturer’s recommended formats.
Maximizing Your Pool Pump Investment
A properly installed above ground pool pump delivers significant cost savings while ensuring years of reliable operation. By following the detailed steps in this guide – from careful pump selection through optimized installation and regular maintenance – you’ll maximize both efficiency and equipment longevity. Remember to prioritize safety through proper electrical connections and maintain adequate clearances for ventilation and service access. The initial investment in quality components and careful installation will pay dividends through lower energy bills and reduced maintenance needs. Take advantage of manufacturer support resources, including installation guides, troubleshooting assistance, and warranty coverage. Establish a regular maintenance schedule to catch potential issues early and maintain peak performance. With these systems in place, you can enjoy worry-free pool operation while minimizing operating costs. Start your installation project today, knowing you have the knowledge and resources to complete it successfully.
Last Updated on August 1, 2025